UMA Wizard
07/01/2014
UMA Wizard is a tool to help you with integrating the UMA package into your project. At this stage, it will easily allow you to:
1. Set up the scene's UMA objects with two clicks (for setting UMA part, more clicks for your own scene are of course necessary)
2. Create UMA recipes
3. Tweak the shapes, slots and overlays of your avatar
Some features include:
1. Select your slots and overlays using filters (body, head, torso, etc.)
2. When modifying shapes, the tool will automatically zoom into the area of interest
3. Easily change the order of the overlays
4. All is done from the editor, so no additional objects are required on your scenes. You can create a project, design all the recipes from there, and work on a clean new project
Currently the project is in its initial version, and a great amount of features will be added in the following weeks. That includes improving the look and feel of the tool, cleaning and commenting the source code, adding an ethnic race wizard, adding a race creator, adding more meshes and textures (slots and overlays) into the libraries, etc. Please share your comments, complaints and/or requests with me on the support site. Please visit http://umawizard.blogspot.com/.
Thank you for your support!
ps. The project is on heavy development. Please be patient as all the bugs are catched and all the features implemented. Thanks!
Description
The UMA Wizard consists of several scripts that will extend the editor to help you set up your UMA based project and its avatars. THIS PROJECT DOESN’T INCLUDE THE UMA PROJECT FILES, which must be imported into the project too. UMA is a free download from Unity’s Asset Store.
Currently, it consist of the following file structure:
UMA Wizard
- Scripts
The scripts folder contain the scripts for the project. UMA Wizard was designed as an editor extension, and at this moment it doesn’t require any instantiation or object in the scene. Please note that UMA does require several, but the wizard will help you deal with that. At this moment it’s made up of these files:
1. UMAWMain.cs - is the main editor extension file. Works differently depending if you are on editor mode or play mode. Editor mode is used to set up the scene, either automatically or manually. It also allows the creation of avatars to be loaded on play. During play mode, the extension allow you to also create avatars (basic male and female at this moment), and/or edit the avatars currently on the scene. It also allows you to save the selected avatars recipe.
2. UMAWSettings.cs - contains several of the parameters used by the tool. A more advanced settings editor will be developed on the following weeks.
3. UMAWHumanoid.cs - contains the routines used to create the basic male and female avatars on play mode. It is also used to classify the slots and overlays. If you add your own, this is the place you need to edit to have them properly classified (ie. body parts, head parts, torso parts, etc.)
3. UMAWEditorMode.cs - contains several static classes used during edit mode.
3. UMAWPlayMode.cs - contains several static classes used during edit mode.
All the code is provided in source form. Will be properly commented in future releases.
Instructions
In the next sections I’ll describe three scenarios for you to use the UMA Wizard:
1. Set up the UMA objects needed for a project
2. Creating UMA recipes
3. Change the overlays position
1. Setting up the UMA Objects needed for a project
In order to create a new UMA project, create a new Unity project and include the UMA package. To use the wizard, include the UMA Wizard scripts and follow the steps as shown on the figures.
Step 1: Import both UMA and UMA Wizard into the asset folder and locate the wizard extension in the Window menu tab
Step 2: Open the UMA Wizard tab, and dock it on the side. The wizard will complain some stuff is missing
Step 3: Press the “Find” button, or provide the prefab and libraries manually.
Several buttons should become available.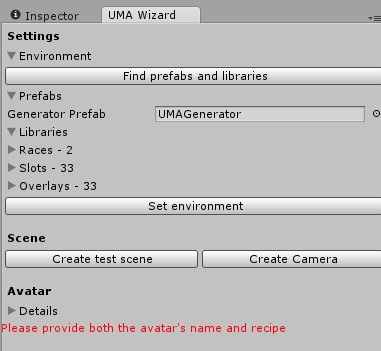
Step 4: Press “Set environment”. A folder named “UMA” with all the required objects should be added into the scene.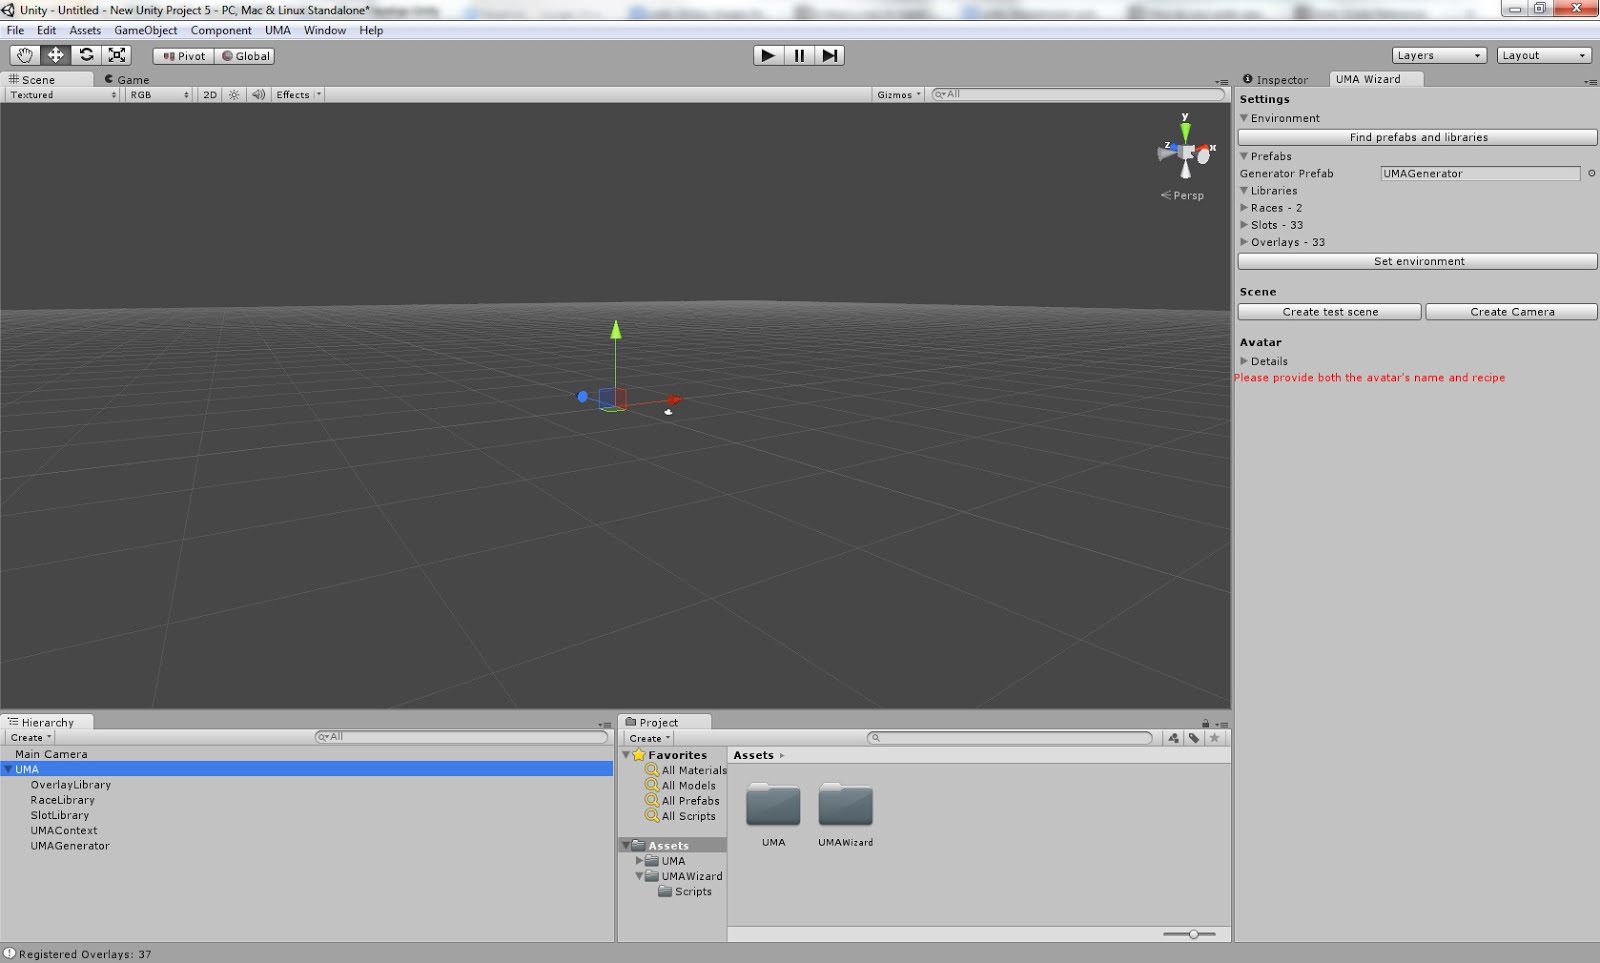
Step 5: Set up your own scene. In this case we added a plane and a directional light from the GameObject menu.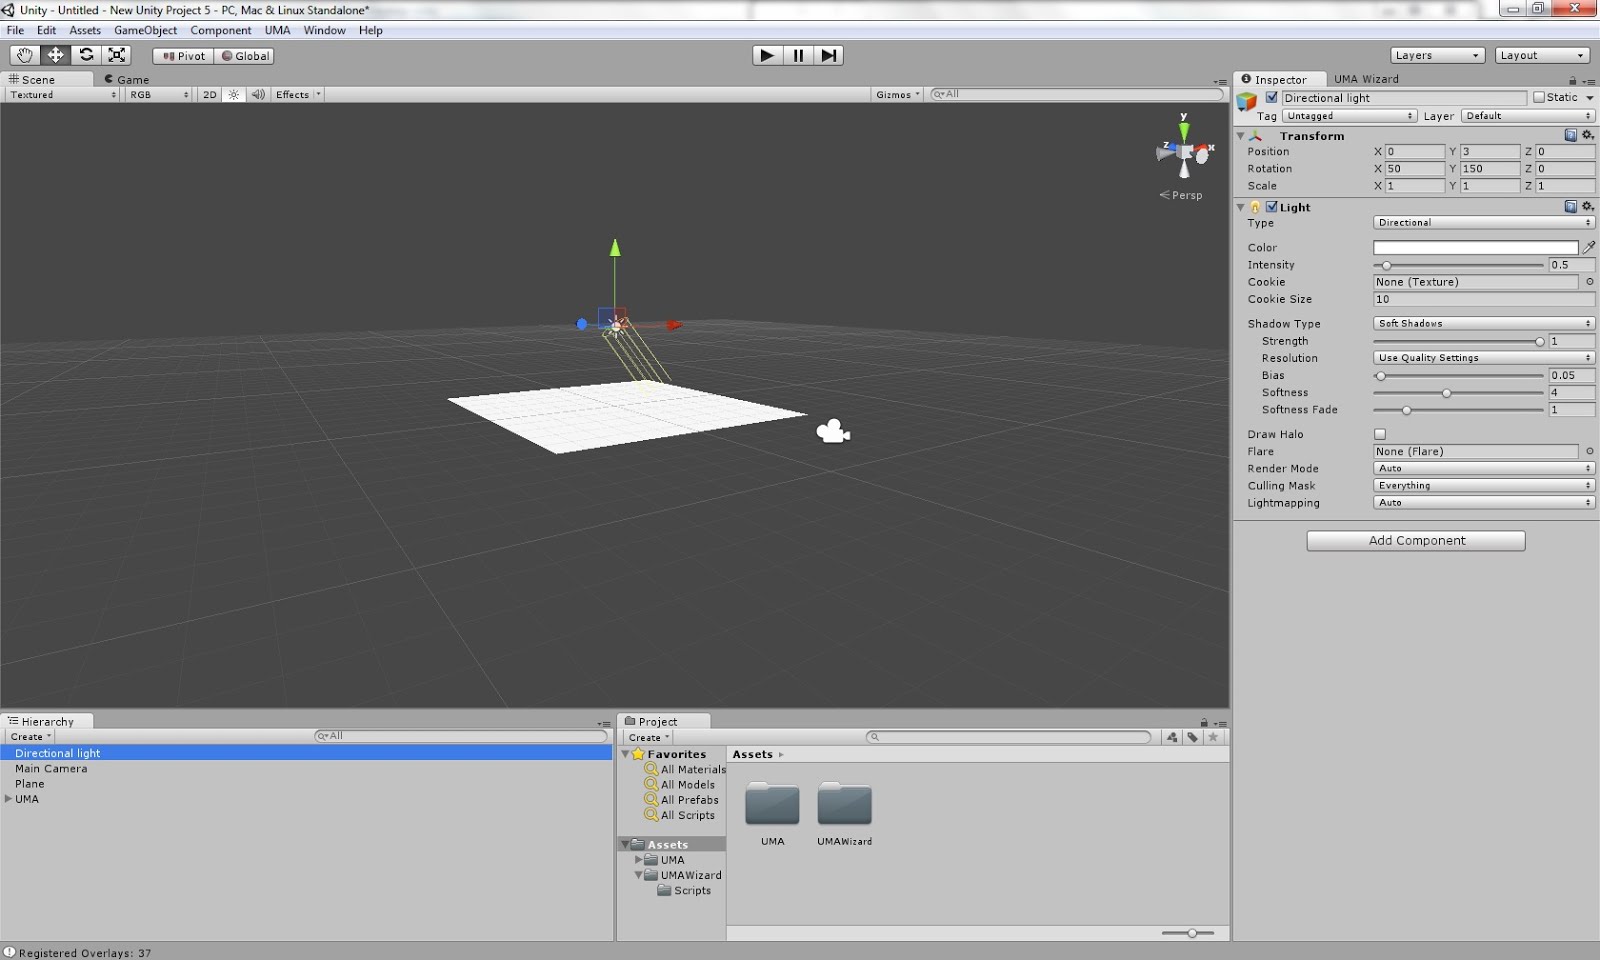
Step 6: For this example, we will add the UMACharacter prefab found in the UMA/Examples/Prefab folder in the UMA package.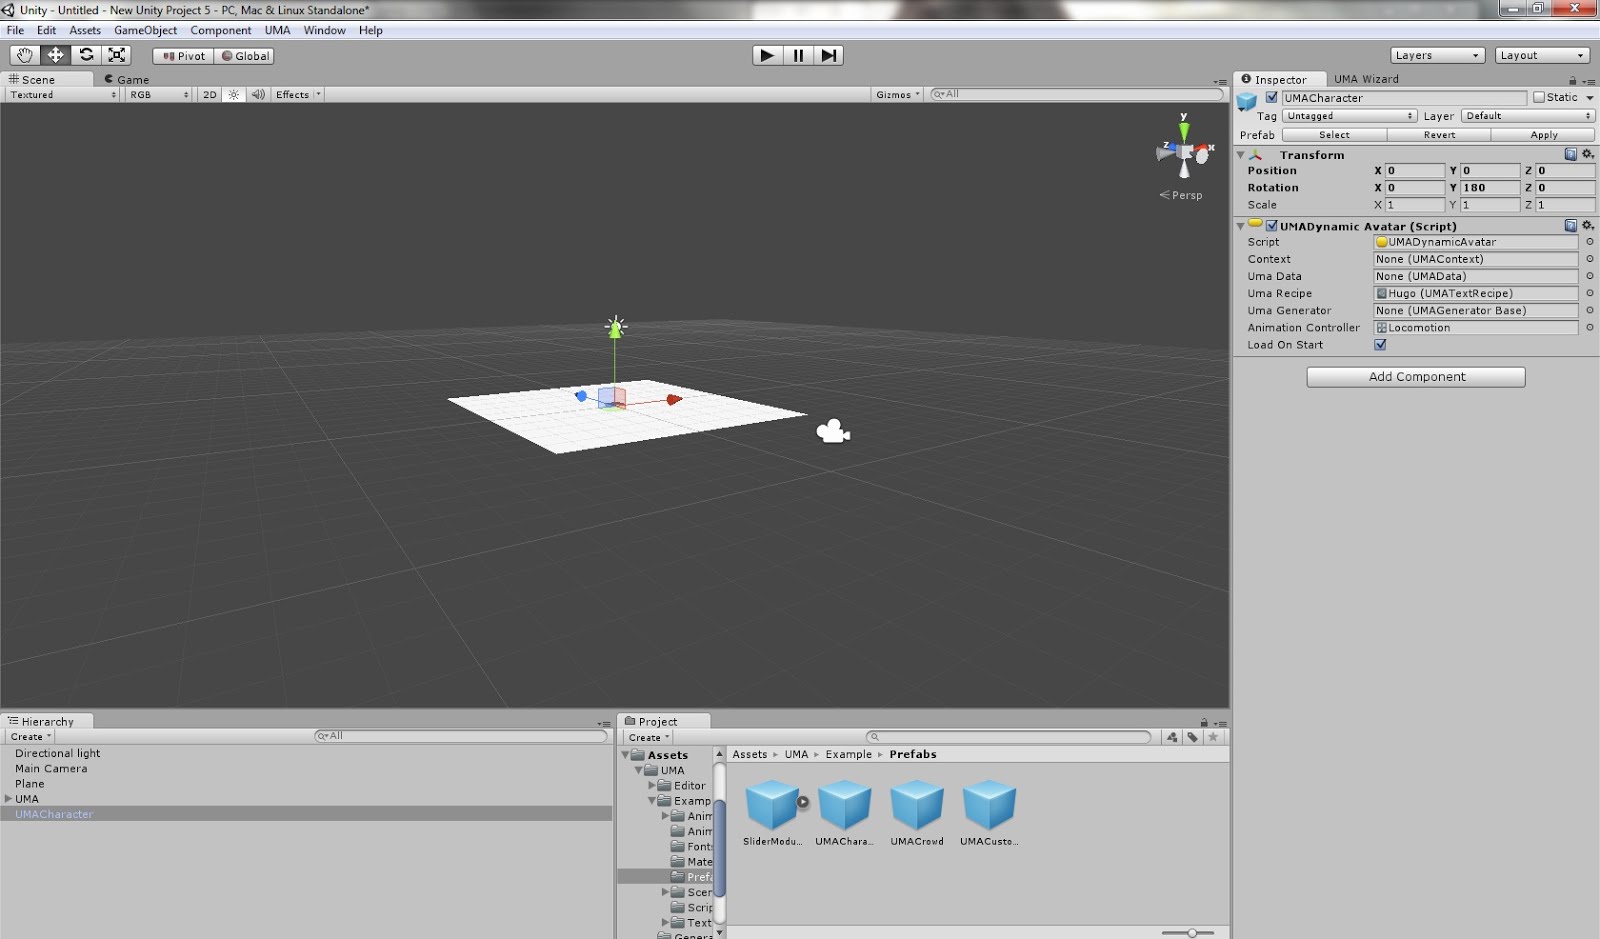
Step 7: Set up the camera, directional light and object, press play, and voila!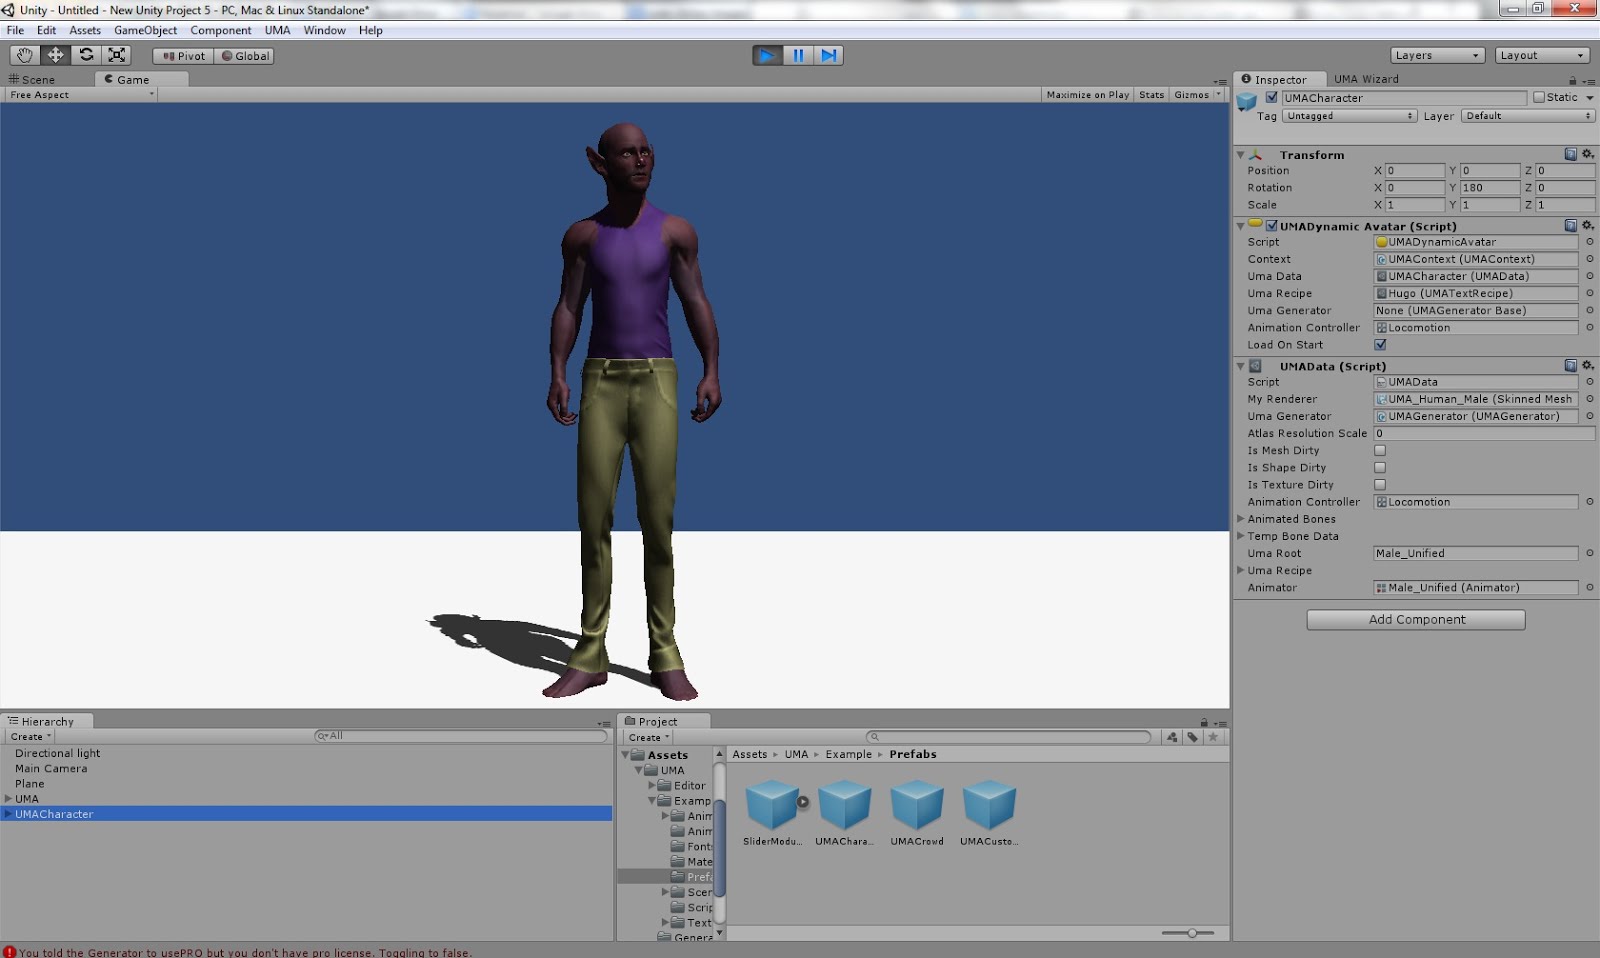
You can also use the UMACrowd prefab. Please note that you will have to assign the UMAGenerator, SlotLibrary, OverlayLibrary and RaceLibrary from the scene’s UMA folder. After that, just press play.

The UMA Wizard also include additional buttons for both generating a fast test scene, and for adding UMA avatars. The UMA Avatars just need from you the name and the recipe. The UMA project includes several recipes, if not, please follow the steps on the next section.
2. Creating UMA Recipes
The following steps will allow you to create several humanoid UMAs, and modify their shapes, meshes and textures (shape, slots and overlays), in order to create a particular end result. The final products will be saved as recipes for later use. We’ll take over from step 4 from the previous example.
Step 5: Press the “create test scene” button. This step isn’t mandatory. If you are editing avatar’s from your own scene, you just need to press “create camera”, which is required for editing. You can then remove.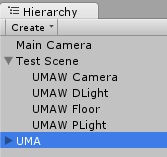
Step 6: Press play. As we haven’t created any avatars yet, the wizard will complain. Please note you may need to focus on the wizard (by clicking somewhere) to get the play mode options. If you already have UMA avatars on the scene, you may press the “Find avatars” button and jump to step 8.
Step 7: Create both a male and a female by pressing the appropriate buttons.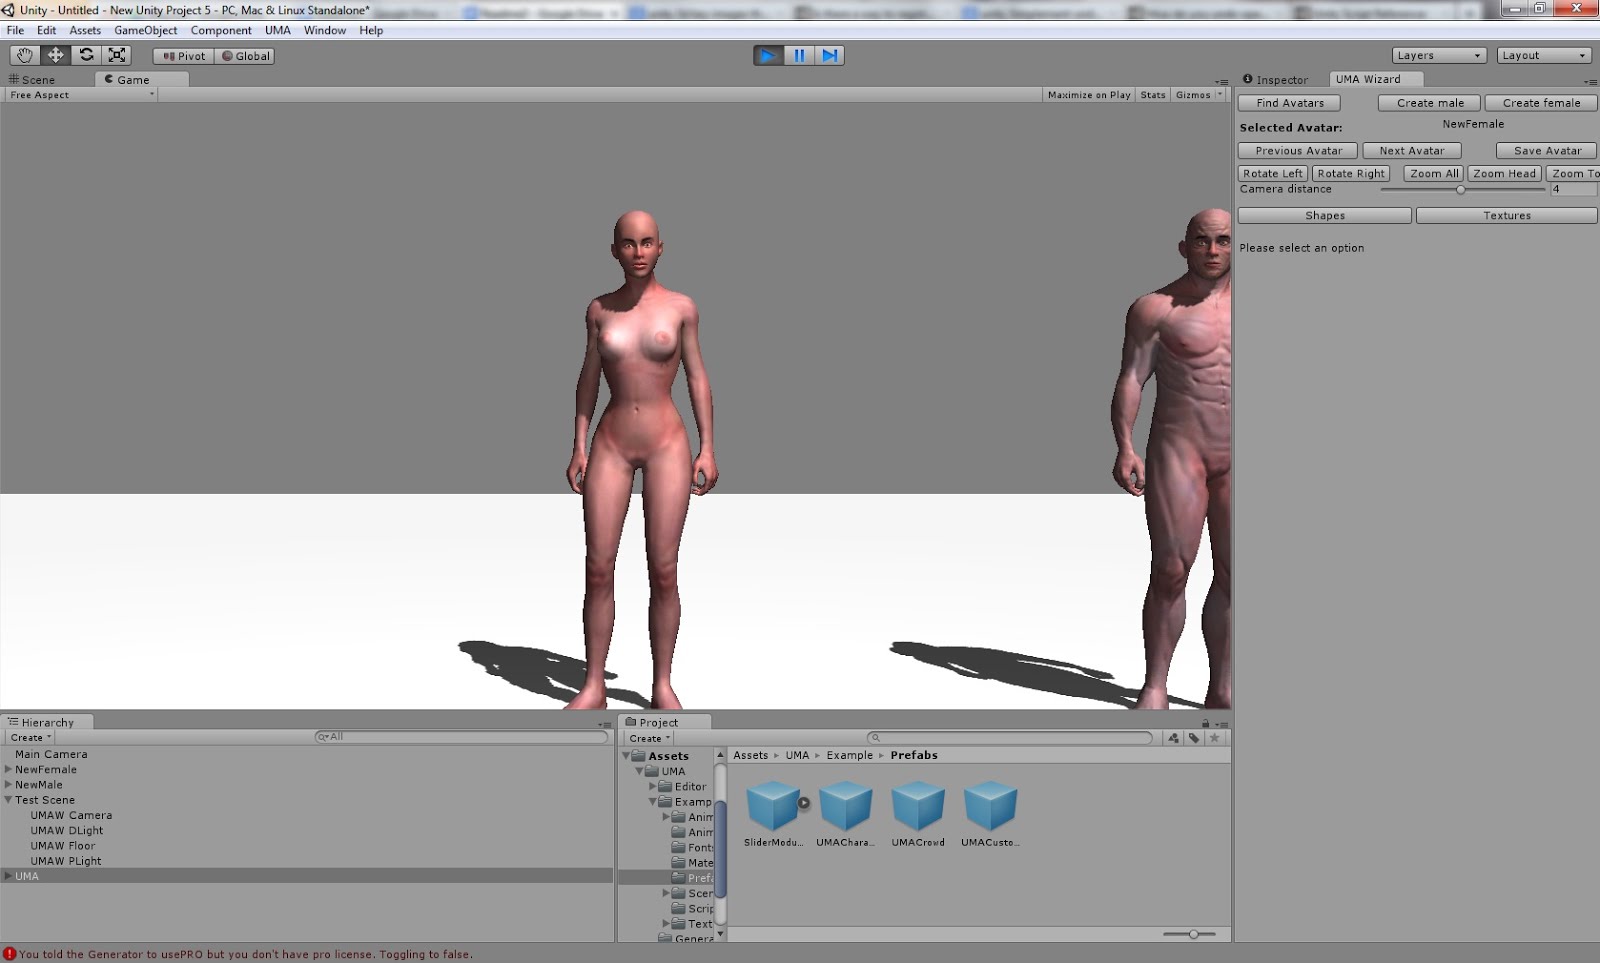
Step 8: Using the “Next Avatar” button, select the male avatar. Then press “Shapes” and “Body”, and use the height slider to modify it’s height to 0.5.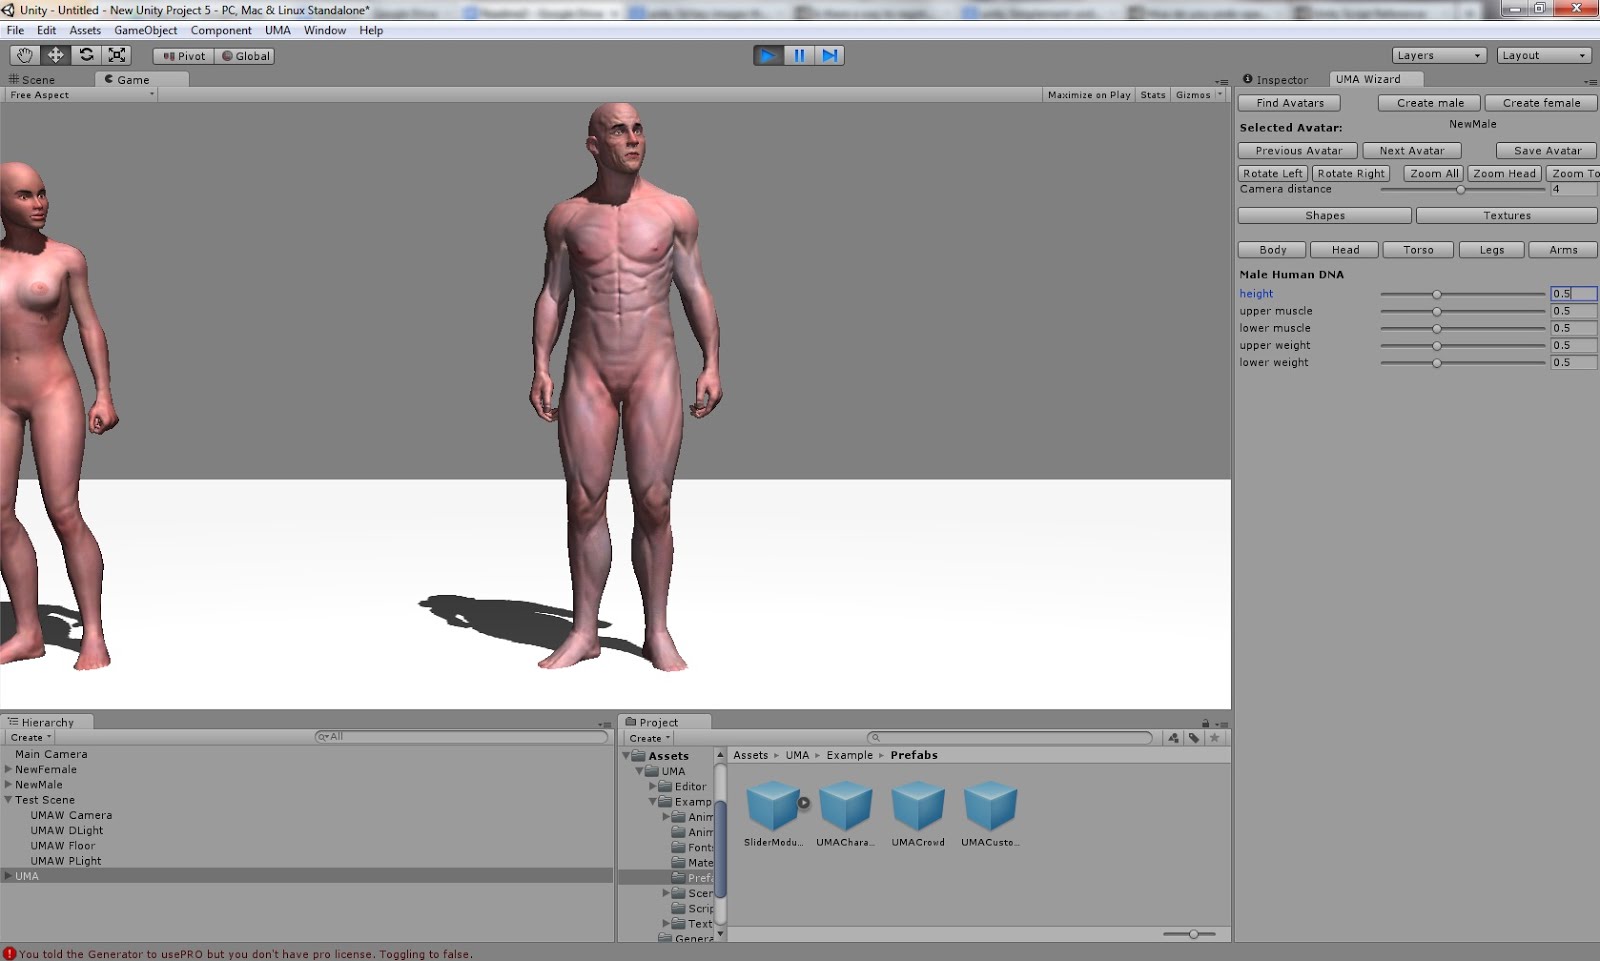
Step 9: Select “Textures” -> “MaleTorso”, ”Add overlay from library” and select the “MaleUnderwear01” overlay. By default all of the overlays are shown. You can use the filters to narrow the selections.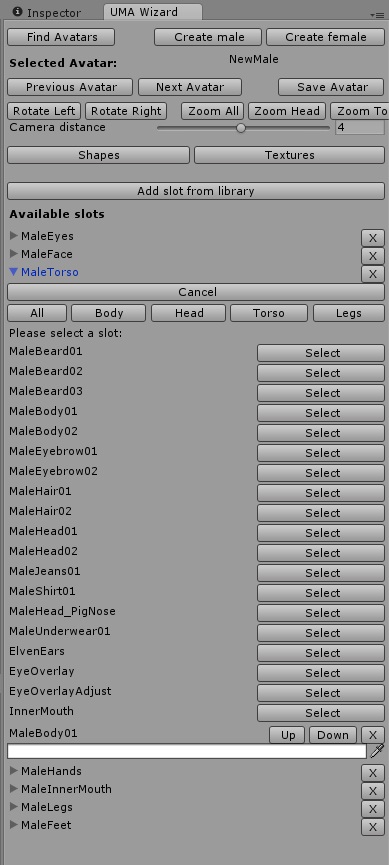
Step 10: The avatar should wear underwear now. Press zoom all to proper fit in the screen. The camera distance slider will also allow proper camera adjustment.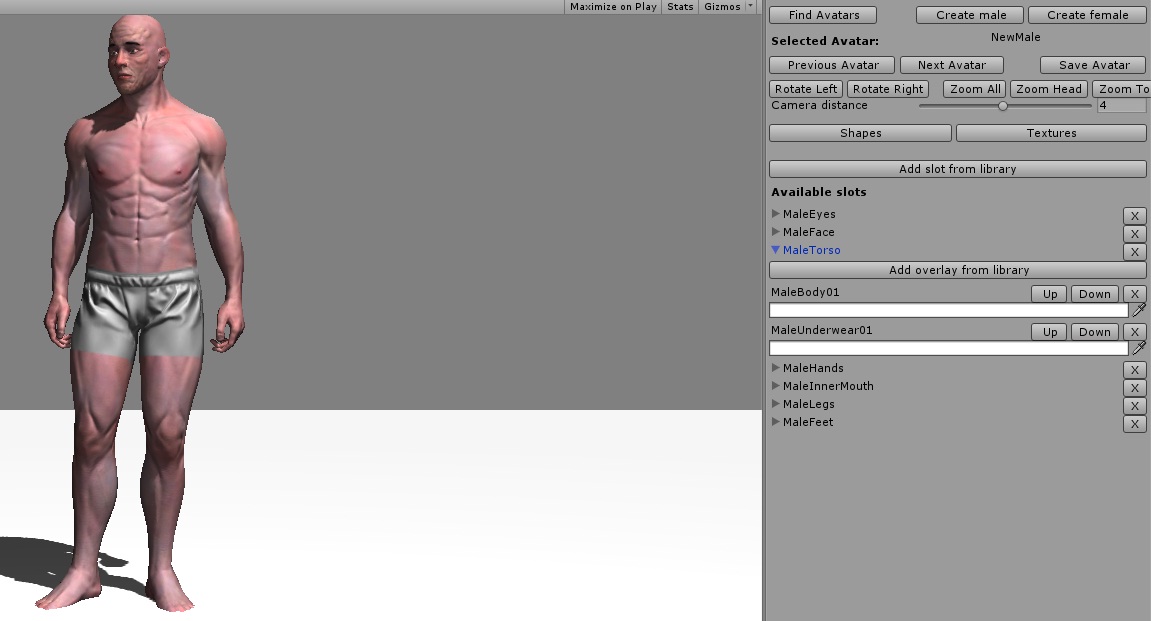
Step 11: Select the female avatar. Go to textures and locate the female underwear overlay. In the picture the “Body” filter was used.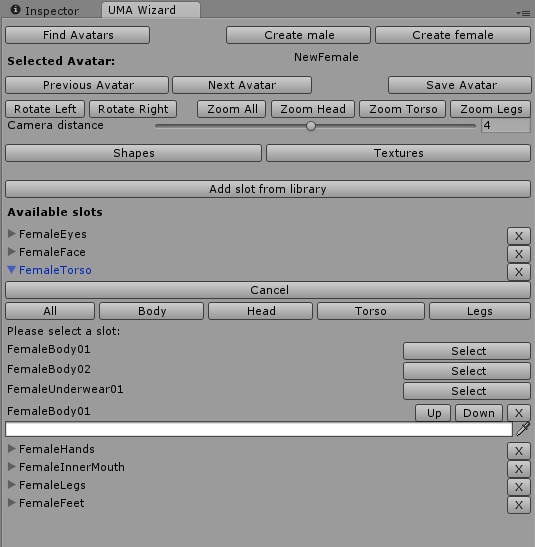
Step 12: Apply the “FemaleUnderwear01” overlay.
Step 13: Repeat process to add “FemaleShirt01” and “FemaleJeans01”. Note that her shirt doesn’t cover her bra completely. This trick can be used to tuck shirts in and do some other effects. It depends on the order the overlays are placed.We’ll see an example about this later.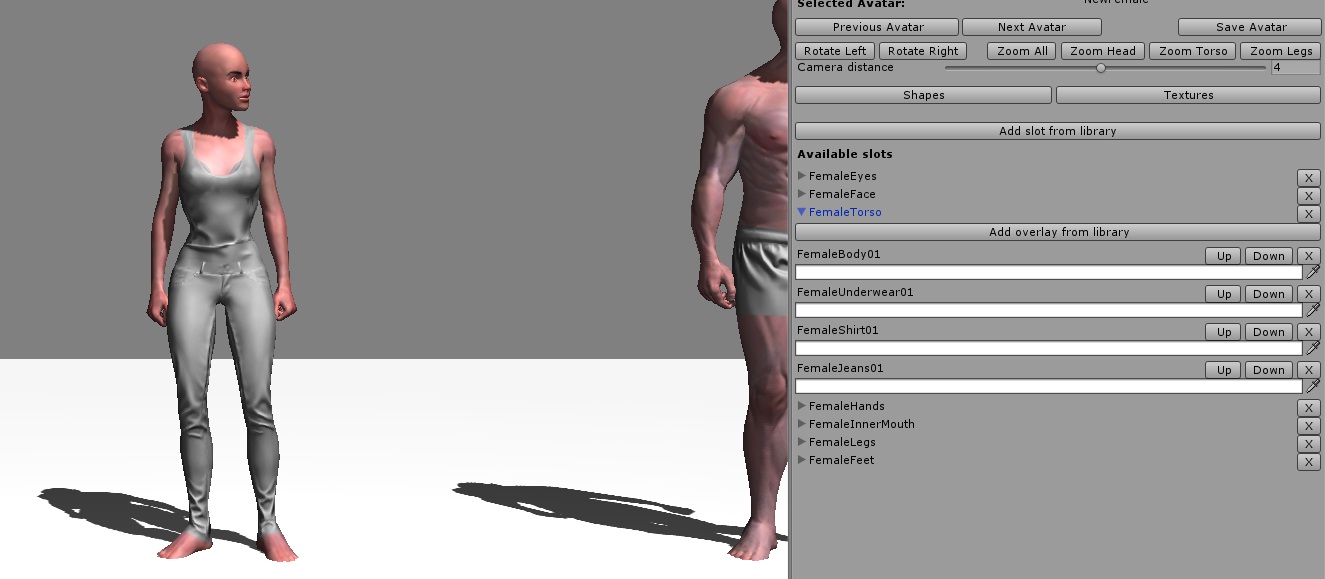
Step 14: Use the color editors and add some color.
Step 15: Press “Zoom Head” to take a closer look. Press “Add slot from library”. Locate the “FemaleLongHair01” slot.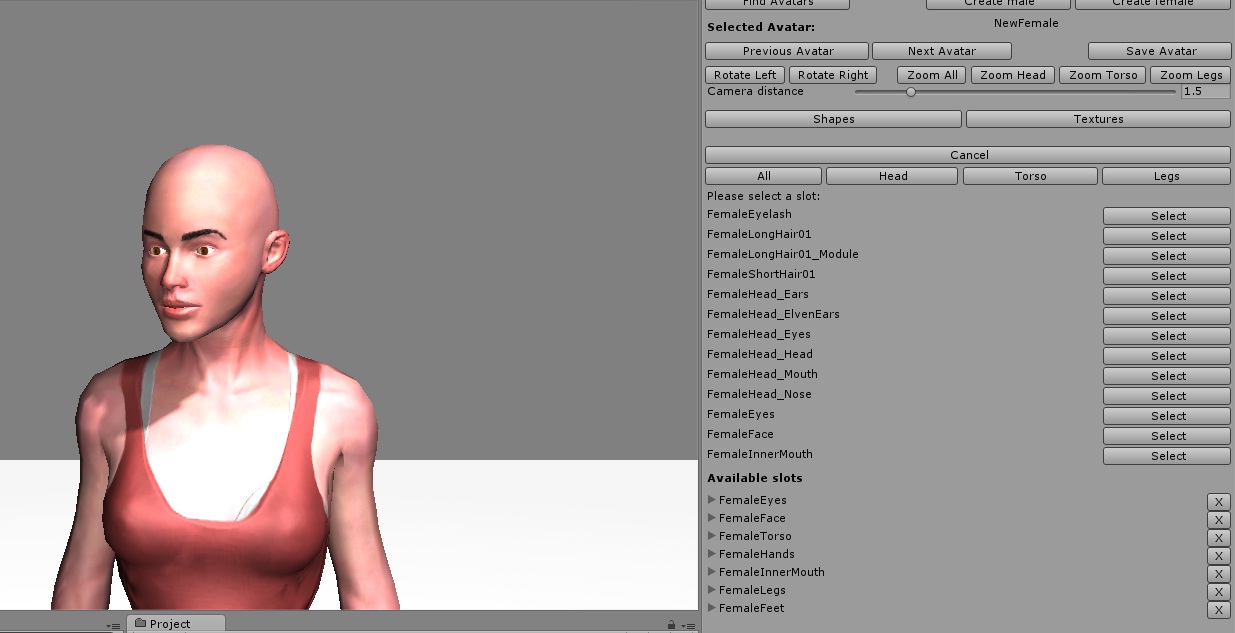
Step 16: Select the “FemaleLongHair01” slot and the “FemaleLongHair01” overlay.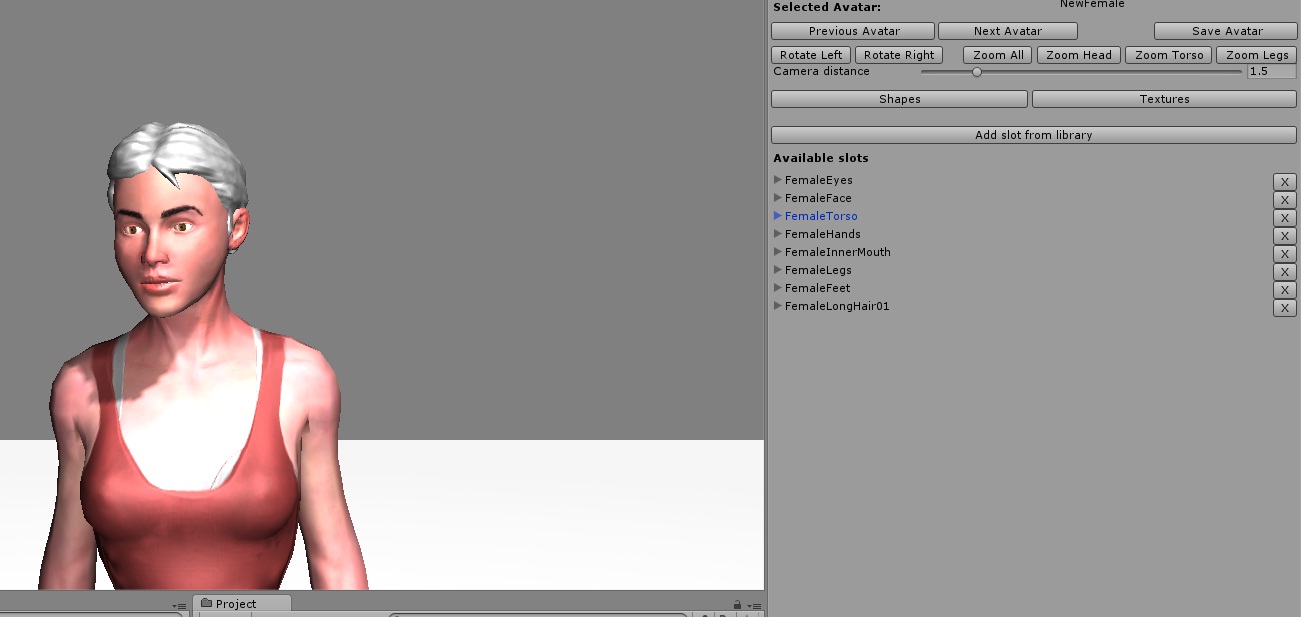
Step 17: Repeat process with the “FemaleLongHair01_Module” slot and overlay. Don’t forget to include the overlay, as all slots must at least have one assigned overlay. Finalize the process by adding color to the new slot’s overlays.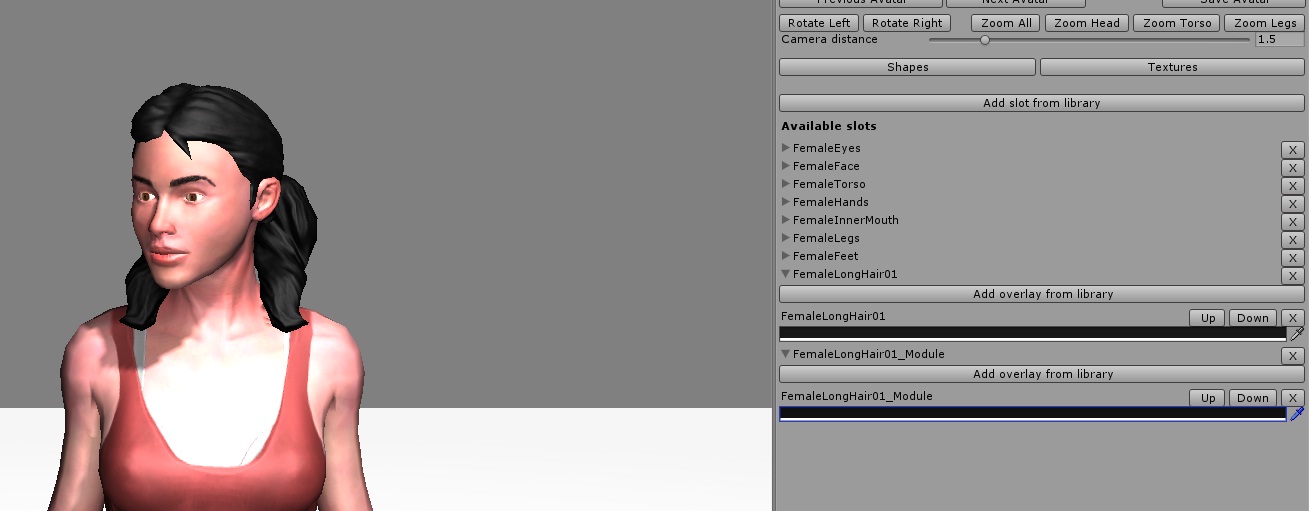
Step 18: You may press “Zoom All” to check the result. You can also use the rotate buttons. Finally, create a recipe by pressing the “Save Avatar” button.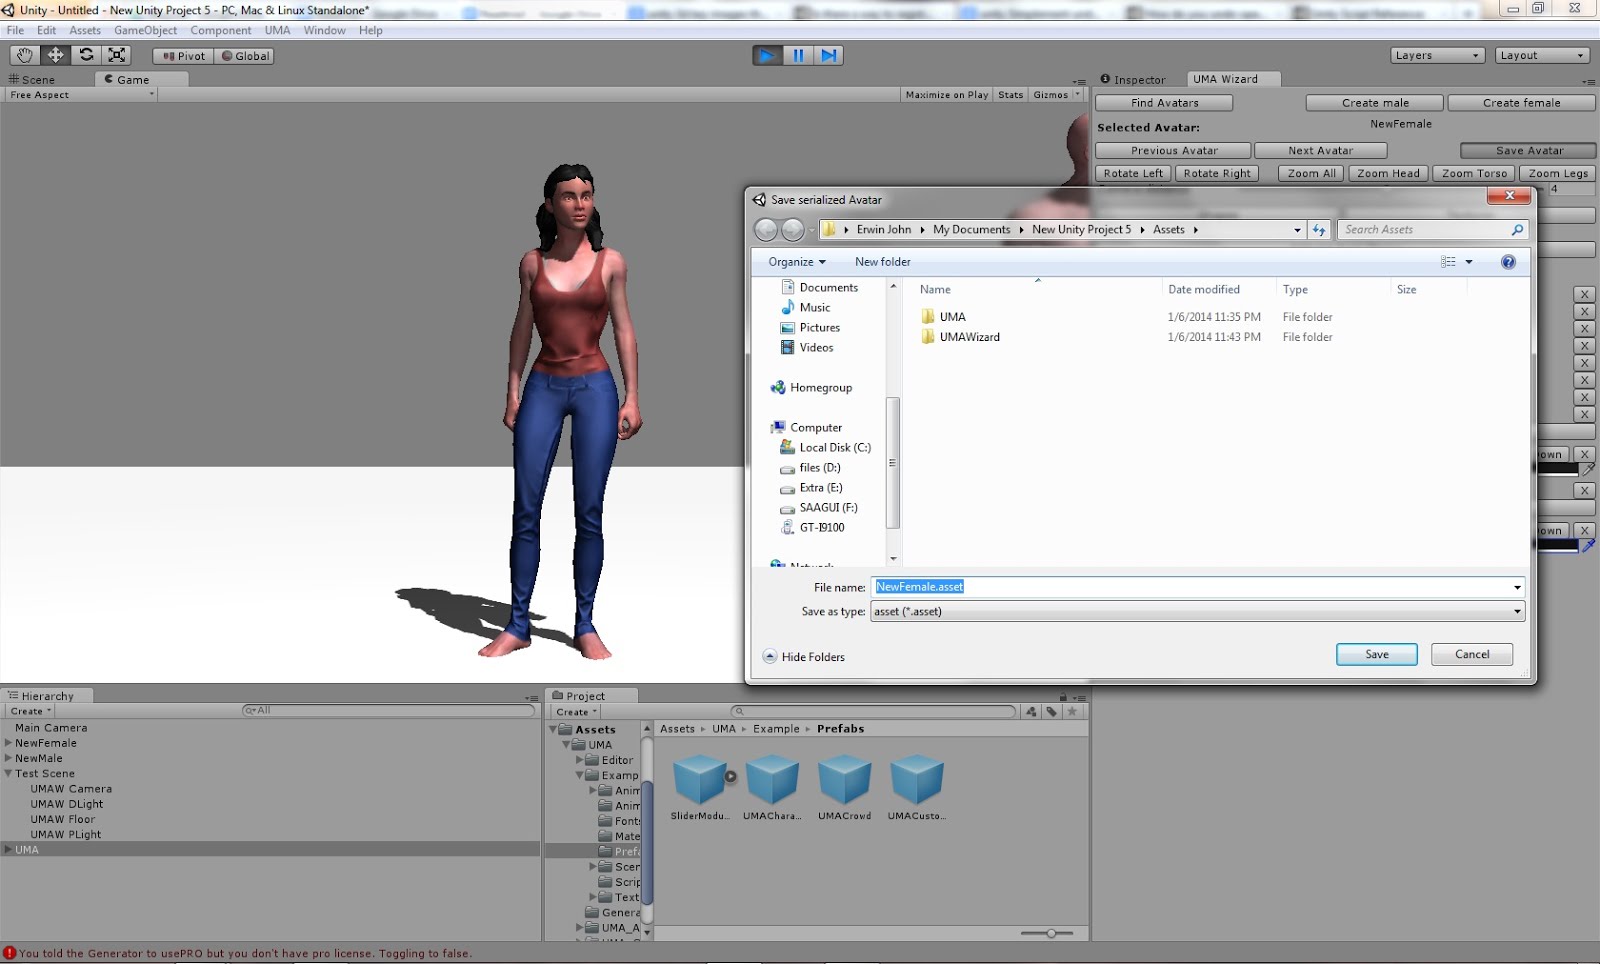
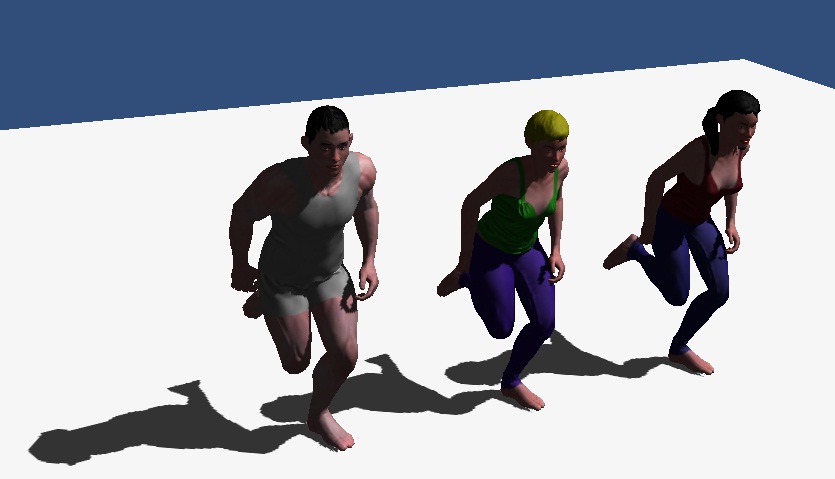
Step 19: You may now create more recipes and use them on a different scene or project. Don’t forget to save them. You can make use of the rotate options to better adjust the shapes (like the pregnant woman on the picture).
All the avatars are ready for you to use. They can be fully animated too!
3. Change the position of the overlays
The overlay position in the list is important. They usually follow the order the layers happen in the real world. For example, the body (skin) is the first, then the underwear and finally the shirt. The wizard provides some buttons for easily changing the order of the overlays, or even removing them.
Step 1: Locate a multilayer avatar, in this case the female we used in the previous example. Open the textures and the FemaleTorso foldout.
Step 2: Move the FemaleJeans01 overlay up (or the shirt down). Note how the shirt is no longer tucked inside the jeans.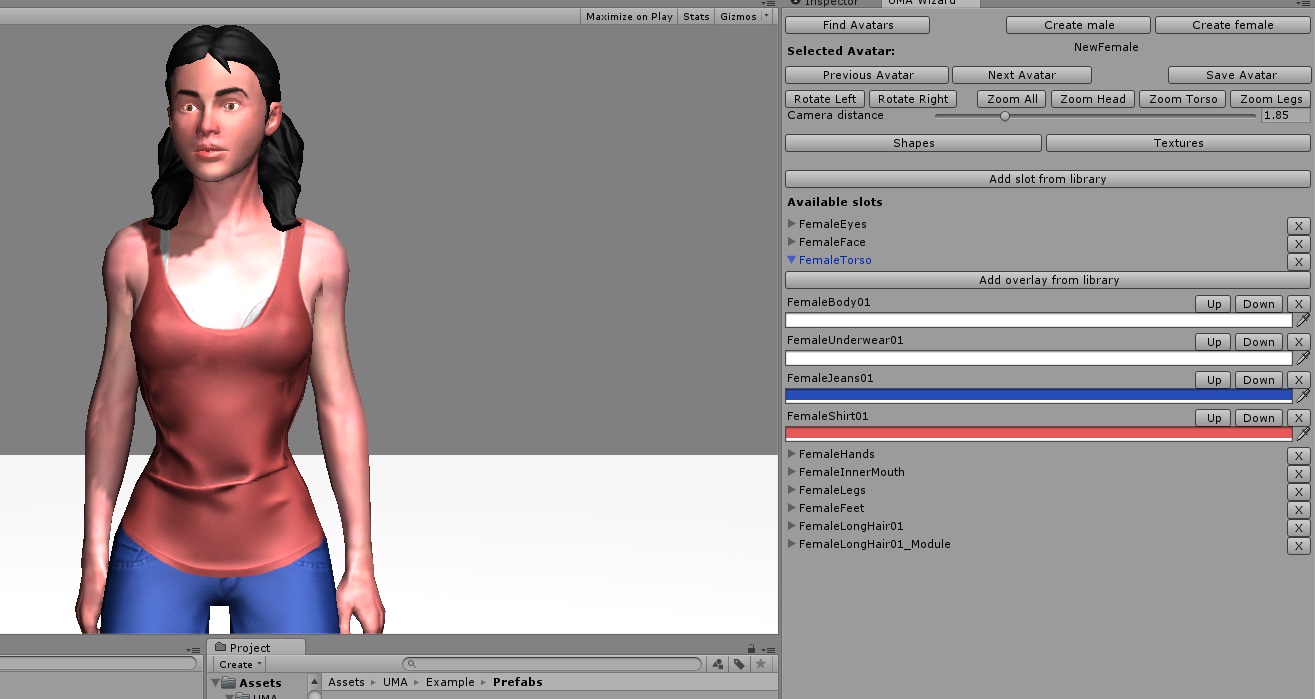
Step 3: Move the underwear to the last position. Note how it is placed on top of the clothes now.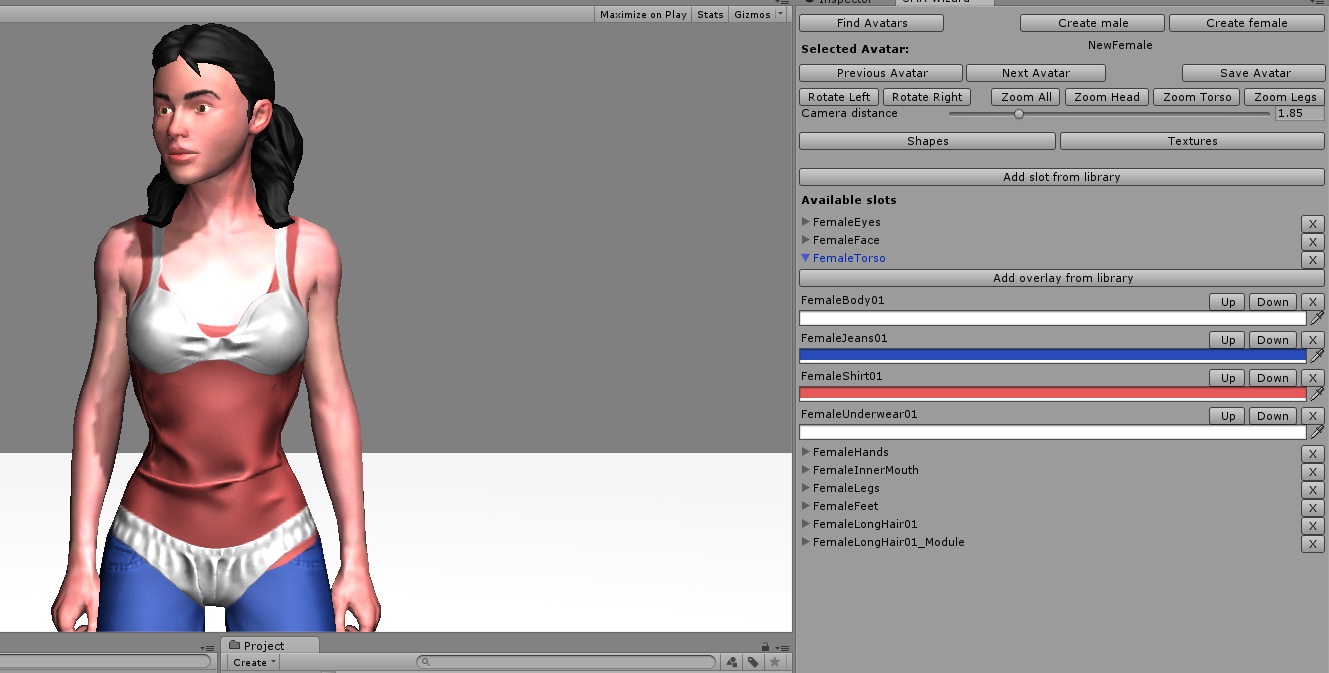
Step 4: Press the “X” button to delete the underwear overlay. Note that the bra isn’t there anymore.
Step 5: Repeat the process with the male avatar. Change his head for head02, and add a beard.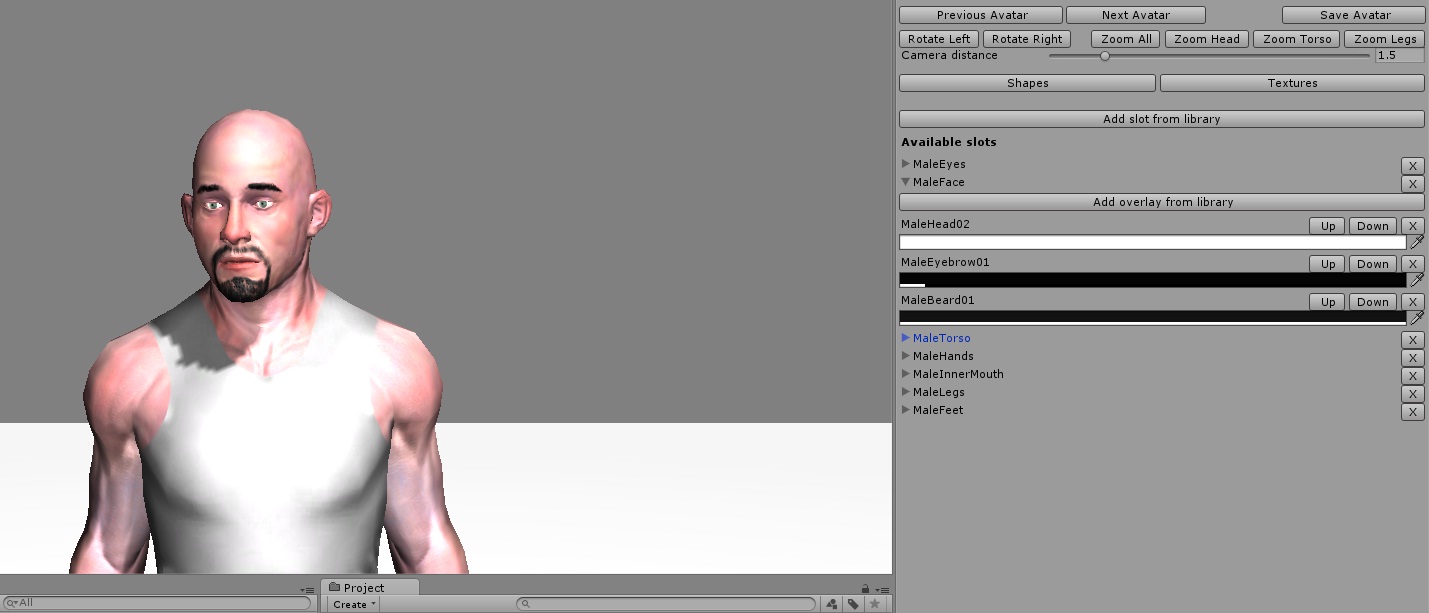
Adding your own libraries
In the current version, you’ll have to place your slots, races and overlays on the same UMA folders. The UMAWHumanoid.cs file have several routines used to classify the slots and overlays as Body, Head, Torso and Legs. You also specify gender.
// FemaleEyelash
AssignSlot ("FemaleEyelash", UMAWSettings.FEMALE_OBJECT, UMAWSettings.HEAD_OBJECT);
In the example you can see the method used. There are both “AssignSlot” and “AssignOverlay” and they use the same format. The first argument is the name of the asset. The second one determines if its a male, female or unisex object. Finally the third determines on which part of the body the slot or overlay is located.
Don’t forget this is an active-just-starting project,
keep visiting as we add more features!
Troubleshooting
The following scenarios were found to happen. Please have them in mind:
1. When entering play mode, the camera doesn’t show anything. When creating the test scene, the Main Camera is usually disabled. Once you finished using the editor tool, its likely you’ll erase the UMA Test Scene folder. Don’t forget to reenable the Main Camera.
2. The order of the overlays is important. If the textures aren’t displayed as you want, one of the likely reasons are for you to place them in the incorrect order. For example, a head must go before an eyebrow, or you’ll get funny results. Another common scenario, is for face features to be before the actual face. Then you’ll only see the face. Check the overlays order!
3. Some slots and/or overlays look funny. At this moment, I believe this is not my fault. Nevertheless, please send me any information you can collect and I’ll see into it.
Contact information
Please send emails about comments/requests/complaints to umawizard@gmail.com.
No comments:
Post a Comment